Description and Specification for Lab Tenders
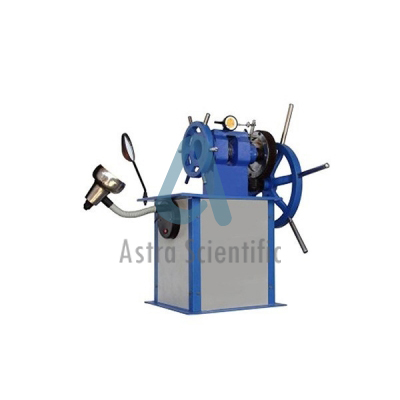
Astra Scientific Erichen Cupping Machine.
This testing machine is available as a worktop model with compact
dimensions, which requires only a minimum of space. All hydraulic and
electronic control and drive units are enclosed in a sturdy sheet metal
housing. The necessary control elements are clearly laid out on the
front panel.
When carrying out the Cupping Test the sheet metal specimen in the form
of a strip is inserted in the test cylinder and centralized by locating
diagonally. After pressing the "Start" push button the sheet holder
force of 10kN as well as the drawing speed - both conforming to the
standards - are adjusted automatically and the test procedure is
initiated. As the testing machine is equipped with the function
"automatic stop at specimen failure" the cupping procedure is
automatically interrupted when a crack appears so that an objective test
result will always be achieved. It is possible to delay the crack
detection using a potentiometer. Often this facility is necessary for
testing thicken sheet metal panels in order to achieve a uniquely
defined crack in conformity with the standards.
This is designed to reveal the cupping qualities of metal sheets &
strips and also to test the adhesion, elasticity & porosity of
coasts of plants or varnish by way of comparison. The appearance of
material & also of its constitution to some extent. The Machine
Conforms to IS: 10175-1982.
FEATURES:
• Lowering of manufacturing costs by making spot checks on the
drawing quality of cold rolled sheet during production or in the process
department.
• Sorting out of material of lower quality arriving at the Goods
Inwards Department. Without special test preparation it is immediately
possible to establish if the material supplied has the prescribed
drawing quality.
• Determining the most appropriate sheet thickness for a particular
drawn work piece to optimize the ratio of price to suitability for the
manufacturing process.
SPECIFICATIONS:
SPECIFICATIONS
Sample Width 70 to 90 mm
Sample Thickness 0.1 to 2 mm
L.C. of Micrometric Device 0.05 mm
One turn of wheel 1.25 mm advance of penetrator

